First method is a clay bar rub


To remove tree sap from a car, use a clay bar rub with soapy warm water. Follow this article on clay bar rubbing to level up your understanding to avoid scratches and get the best results possible.
It may take time, but with a little elbow grease it is the safest method to safely remove tree sap. If the clay bar gets clogged, you have two options. You can remove the clogged part and throw it away. Otherwise, you can fold and knead the clay until it absorbs all the tree sap.
It’s better if the tree sap is slightly warm, and not sticky sap, as it will come off more easily. If the tree sap is fresh and always sticky, then it likely did no damage to the paint job. At this stage in the life of tree sap on a car, soapy hot water might be enough to get tree sap off a car.
If that is not working, then try an ice cube to cool down any sticky sap to make it less sticky. The clay bar rub will not work if the tree sap gets too cold so use your judgement. Spraying water will also affect the temperature of the sap.
Second method is isopropyl alcohol
Isopropyl alcohol method is best at 91% purity used with a proper microfiber cloth will get tree sap off a car. To prevent scratches on the paint, do not use this method in direct sunlight. Also, avoid rubbing the affected area with your finger covered in a microfiber towel.
Hold the towel in your hand and soak an area of it with rubbing alcohol. Gently wipe the towel back and forth to remove the tree sap. Remember to rotate the towel as it becomes clogged.
This method is quite safe so long as you are not finger rubbing it too hard. Make sure to wear gloves, protect your eyes, and avoid breathing in the fumes. Clean with rubbing alcohol and then soapy water after.
Tree sap can harm the car’s coating, so wet sanding and polishing might be necessary to fix it. We will briefly discuss wet sanding a little further down in this article.
Third method is to use solvent
Avoid this method in direct sunlight or on a clear coat that’s heated or warm. Thoroughly cool the clear coat, as though you parked it in a garage for several hours. Wear gloves and eye protection and use a good paint thinner such as JT501. Never use nail polish remover or acetone on a car’s protective finish.
Test the paint thinner

Never use paint thinner on a car with single stage paint. This method only works on a urethane or acrylic clear coat product.
It’s important to conduct a trial on a minor area, possibly the bottom of the bumper, to determine if your solvent is excessively potent. Rub it with some force and observe if any color transfers onto the microfiber fabric. If it doesn’t, then it’s likely safe to proceed.
It’s not recommended to conduct this test in the car’s hood or door jams as these areas typically don’t have the same coating. FYI: some tar remover products have also been discovered to remove tree sap from a car. If you have one already then, we suggest you try that before spending money.
Removing the tree sap from the car
Saturate a small area on a microfiber towel and quickly wipe up the tree sap blob. A powerful solvent will also remove a tiny fraction of clear coat as well as melting away the sap.
To prevent damaging the car paint, gently rub the sap twice and assess the remaining work based on that. If your solvent is like JT501, it will take 3-6 passes to make the tree sap melt and disappear. Sometimes a little more solvent on the rag is better than less. The actual tree sap removal process should take approximately 1-5 seconds per spot.
Inspect the car paint for damage
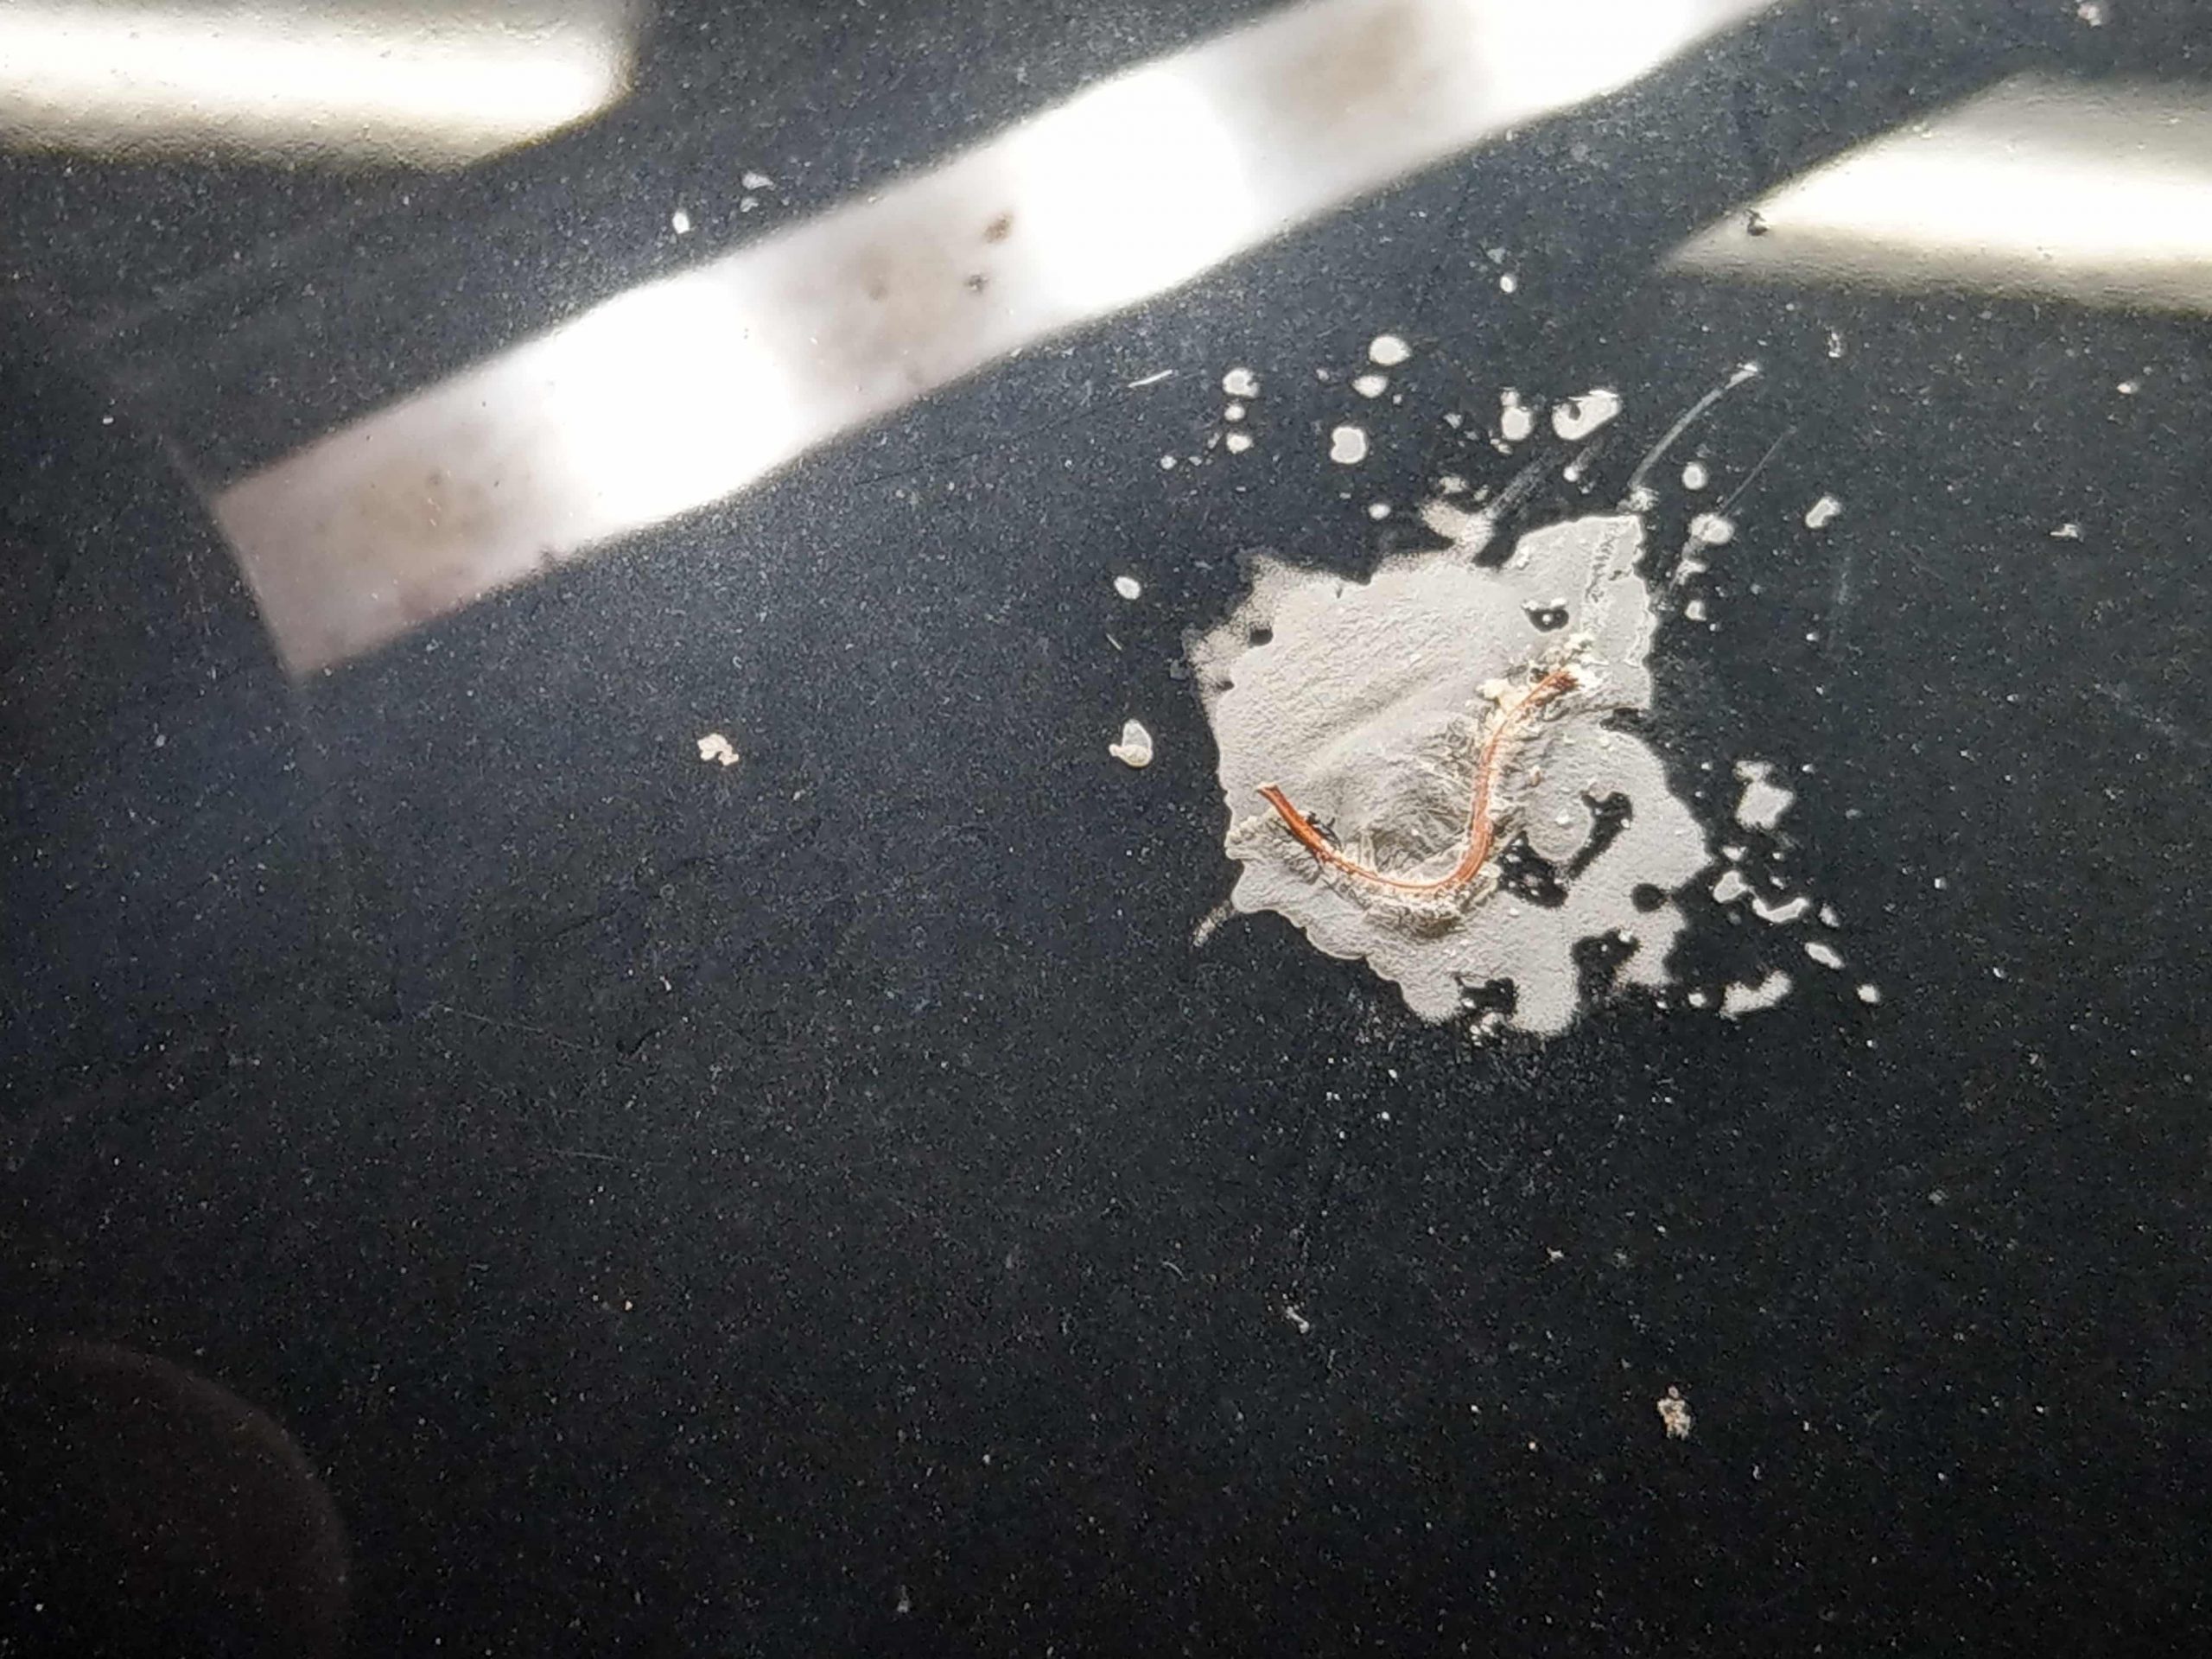
Imagine a body of water, like a pond, that has evaporated, resulting in a dry basin of land left behind. As the land dries out it cracks everywhere. This is much like crazing.
If the valley of the sap damage is smooth, then a thorough polish is probably good enough. If you examine carefully, you may notice small cracks or a stubborn stain that won’t come off. In such cases, you can begin to assume that you may have a paint crazing issue.
Did the car paint craze?


The car’s protective coating can develop numerous tiny cracks, possibly exceeding 100, in an area as small as 1/4 square inch. These cracks appear very small and exist in a concentrated area. If the car paint has crazing, then you will need to wet sand it with a handheld sanding machine.
Wet sanding tree sap damage
We strongly suggest for you to read out article about how to wet sand a car & be sure your knowledge is a high enough level for you to move forward into wet sanding a car.
Make cross hatched passes and focus on the intent to evenly scale it down. Do not attempt to fix the damage in a single attempt. Clean then dry the area to closely inspect the cracks to determine if you have gone deep enough.
Do not tilt the buffer to sharpen the digging angle unless you feel confident in your paint correction & beveling skills.

After sanding, lightly buff the area with rubbing compound before checking your work again. If it already looks great the move up to a proper car buffing and polish.
If it needs more work time, then wet sand and lightly buff again. Be very careful not to break through the clear coating inside the valley of the tree sap mark. We never need more than 2 sessions to remove tree sap damage from a car.
Sometimes less is best
Visit our article for information to everything about car detailing in order to quickly reference your topic of interest and advance your learning.